
How to Build a Home Security Plan That Actually Works
A working home security plan starts with an honest walk-through of your weakest entry points, not a shopping list for a home security system. FBI crime data shows most residential burglaries happen through the front door or a ground-floor window during daytime hours when homes are empty, so the highest-value fixes are usually cheap: better locks, visible cameras at entry points, and lighting, not a $2,000 system bought all at once.
Start With a Home Vulnerability Assessment
Walk your property’s perimeter as if you were trying to break in. Note every door, window, and gate, then rank them by how easy they’d be to force and how visible they are from the street. FBI Uniform Crime Reporting data consistently shows the front door is the single most common burglary entry point, followed by first-floor windows and the back door, largely because these are the least visible to neighbors and passing traffic.
- Check that exterior doors have solid core construction and a deadbolt with at least a 1-inch throw
- Test every ground-floor window lock, not just the ones you use regularly
- Look for blind spots: tall hedges, fences, or dark areas near doors and windows
- Note whether your address is easily visible from the street for first responders
- Check the garage, both the vehicle door and the entry door into the house, which is often left unlocked
Write the list down and rank it by risk and cost to fix. This becomes your budget roadmap instead of buying equipment reactively after a neighborhood incident.
Also factor in timing patterns. Contrary to the popular image of nighttime break-ins, most residential burglaries happen during daytime hours, roughly 10 a.m. to 3 p.m., when houses are more likely to sit empty for work and school. That shifts the priority toward daytime deterrents, visible cameras, timers on interior lights, and a neighbor or app-based package pickup plan, rather than only nighttime motion lighting.
Entry Point Protection: Doors, Windows, Garage
Before adding electronics, harden the physical points of entry. A $15-$30 grade 1 or grade 2 deadbolt with a reinforced strike plate stops far more break-in attempts than a camera alone, cameras document a crime, good locks prevent one. Reinforcing the door frame with a 3-inch screw kit ($10-$20) makes kicking in a door significantly harder.
| Upgrade | Typical Cost | What It Stops |
|---|---|---|
| Grade 1/2 deadbolt + strike plate | $15-$40 | Lock picking, basic force entry |
| Door frame reinforcement kit | $10-$30 | Door kicking |
| Window sensors/pin locks | $5-$15 per window | Window prying, forced entry |
| Smart garage door sensor | $30-$60 | Garage left open, unauthorized entry |
| Motion-activated exterior lighting | $25-$80 per fixture | Nighttime approach, low-visibility entry |
Garage doors deserve special attention since they’re frequently overlooked, a garage left open (intentionally or by opener malfunction) is one of the more common entry points police report. If you haven’t reviewed your garage door repair and maintenance needs, a poorly functioning door is both a security gap and a mechanical one. Pair these physical fixes with the basics covered in general home security tips before layering on electronics.
Cameras and Monitoring: What You Actually Need
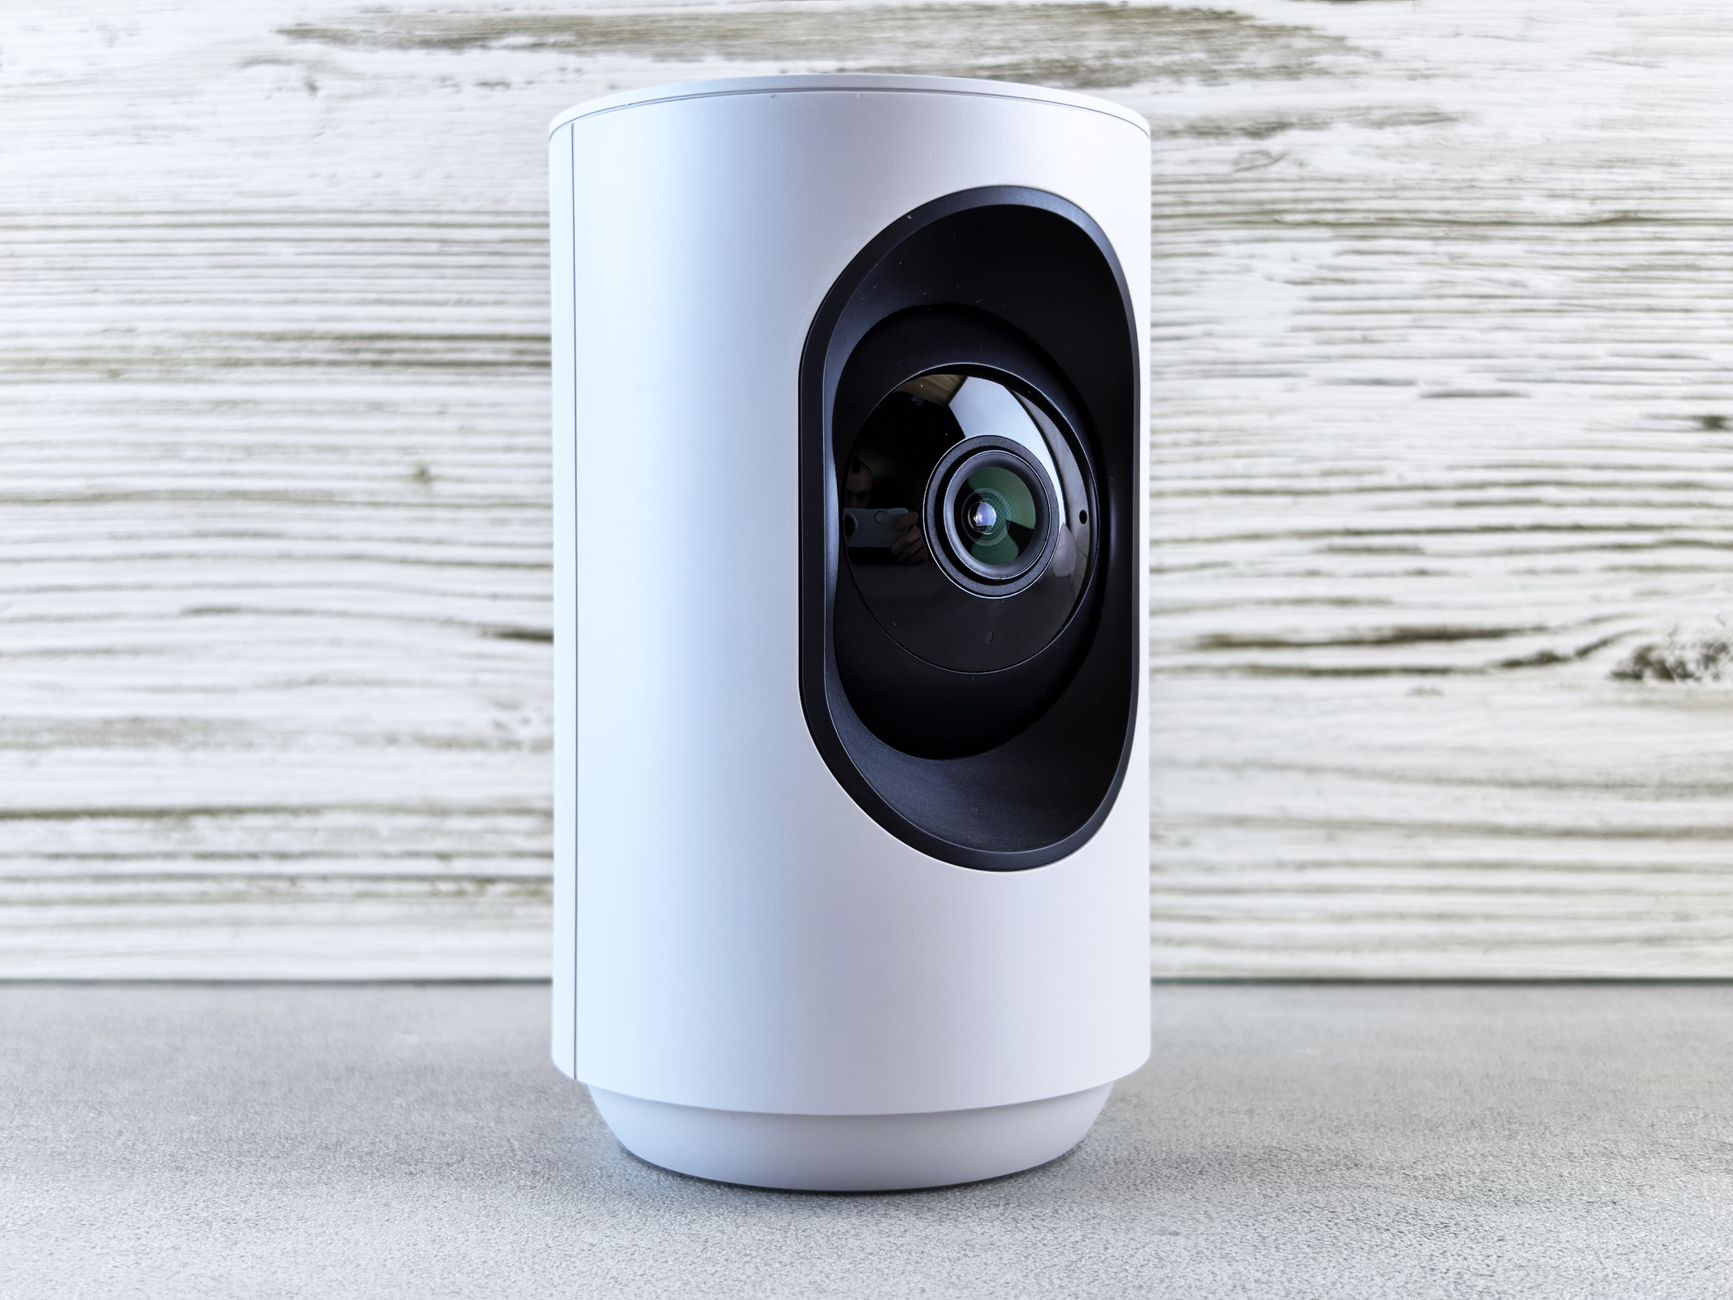
You don’t need cameras on every corner of the house. Prioritize the front door, the driveway or street-facing view, and the back or side entry that’s least visible from the street. A video doorbell ($100-$250) covers the single most common entry point and lets you see and speak to visitors remotely. Add one or two additional cameras covering the back/side entries for $50-$200 each.
- Video doorbell: covers the front door, the most common entry and delivery-theft point
- Driveway/street camera: documents vehicles and approach, useful for package theft and case evidence
- Back/side door camera: covers the less visible entry points burglars prefer
- Indoor camera (optional): useful for checking on pets or verifying an alarm trigger, raises privacy considerations for guests and cleaners
Visible cameras and yard signage act as a deterrent on their own, several industry surveys of convicted burglars found that visible security systems and cameras were a top factor in choosing to avoid a target property, even before considering how good the actual coverage is.
Professional Monitoring vs Self-Monitoring
Self-monitored systems send alerts straight to your phone and rely on you to call 911 if there’s a real emergency. They’re cheaper, typically $0-$15 a month, and give you full control, but they fail if your phone is off, dead, or you’re unreachable. Professionally monitored systems run $20-$60 a month and route verified alarms through a monitoring center that contacts emergency services on your behalf, including when you can’t respond.
| Feature | Self-Monitored | Professionally Monitored |
|---|---|---|
| Monthly cost | $0-$15 | $20-$60 |
| Alerts emergency services automatically | No, you must call | Yes, on verified alarm |
| Works if you’re unreachable | No | Yes |
| Contract required | Rarely | Sometimes, 1-3 years |
| Insurance discount eligibility | Sometimes, varies by insurer | Usually, 5-20% off premiums |
Check with your home insurance carrier before choosing, many offer a discount for a monitored system that can offset a meaningful chunk of the monthly fee, sometimes enough to make professional monitoring closer in cost to self-monitoring.
Cellular backup is another factor that separates budget and premium monitoring plans. Systems that rely solely on your home Wi-Fi go dark if the internet goes down, whether from an outage or a burglar cutting the line, so a plan with cellular backup keeps the system connected to the monitoring center even without home internet. This typically adds $5-$10 to the monthly fee but closes one of the more common gaps in coverage.
DIY Security Systems vs Professionally Installed
DIY systems (self-installed sensors, cameras, and a hub) typically cost $200-$600 upfront with no installation fee, and setup takes an afternoon for most homes. Professionally installed systems run $99-$599 for installation (sometimes discounted or free with a monitoring contract) plus equipment, and a technician handles placement, wiring, and testing.
- Choose DIY if: you’re comfortable with basic setup, want no long-term contract, and your home doesn’t need hardwired sensors
- Choose professional install if: you want hardwired reliability, a larger or older home with tricky wiring, or prefer a single point of contact for support and warranty
Renters should lean DIY, since most wireless systems move with you and require no permanent modification to the property.
Battery life and power reliability are worth checking before you commit either way. Wireless DIY sensors typically run on batteries lasting 1-2 years and will alert you when they’re low, but a dead sensor battery creates a silent gap in coverage until you notice. Hardwired professional systems avoid that failure mode but usually include a battery backup for the control panel itself, so the system still arms during a power outage. If your area sees frequent outages, ask any provider specifically how their system behaves without grid power and for how long the backup lasts.
Budgeting for a Security Setup
A realistic starter budget for a single-family home covers a video doorbell, 2-3 entry-point sensors, a hub, and either self- or professional monitoring. Build it in phases rather than buying everything at once.
| Tier | What’s Included | Approximate Cost |
|---|---|---|
| Basic | Video doorbell, door/window sensors, self-monitoring | $150-$350 upfront, $0-$15/month |
| Standard | Doorbell, 2 cameras, hub, sensors, professional monitoring | $400-$800 upfront, $25-$45/month |
| Full coverage | Whole-home sensors, multiple cameras, professional install and monitoring | $800-$2,000+ upfront, $40-$60/month |
Start with the basic tier at your highest-risk entry points, then expand. Most homeowners find the standard tier covers real risk without paying for coverage they don’t need, like indoor cameras in rooms with no valuables or exterior access.
How to Compare Providers Objectively
Ignore marketing claims about “the best” system and compare on five concrete factors: contract length, cancellation terms, equipment ownership (do you keep the hardware if you cancel monitoring), response time guarantees from the monitoring center, and whether the system integrates with smart locks or garage sensors you already own or plan to add.
- Read the contract length and early termination fee before signing anything multi-year
- Ask whether equipment is yours to keep if you switch monitoring providers later
- Confirm the monitoring center’s average response time and how alarms get verified before dispatch
- Check compatibility with your existing smart home technology to avoid a second app or hub
- Compare total 3-year cost (equipment plus monthly fees), not just the advertised monthly rate
It’s also worth asking each provider how false alarms are handled. Many municipalities issue fines for repeated false alarm dispatches, sometimes $50-$200 after a set number of incidents in a year, so a monitoring center with good verification steps (a callback before dispatch, for example) can save you real money on top of the peace of mind.
Bottom Line
A home security plan works in layers: harden your doors and windows first, add visible cameras at the entry points burglars actually use, then decide between self- and professional monitoring based on how much you’re willing to pay for automatic emergency response. Build the home security system in tiers starting at $150-$350, and compare providers on contract terms and total cost, not just the sticker price of the equipment. Explore more home safety guides to round out your overall protection plan.
What is the most important part of a home security plan?
Securing entry points comes first. FBI data shows most burglaries happen through the front door or a ground-floor window, so a solid deadbolt, reinforced door frame, and window locks stop more break-ins than cameras alone, which mainly document rather than prevent an incident.
Is a monitored home security system worth the monthly cost?
It depends on your risk tolerance and insurance discount. Professional monitoring ($20-$60/month) automatically contacts emergency services if you’re unreachable, while self-monitoring ($0-$15/month) relies on you responding to an alert. Many insurers offer a 5-20 percent premium discount for monitored systems that partially offsets the cost.
Do security cameras actually deter burglars?
Surveys of convicted burglars cited by industry security researchers found visible cameras and security signage were a top factor in avoiding a target property. Visibility matters as much as coverage, a camera hidden from view deters less than one placed obviously at the front door or driveway.
Should I get a DIY or professionally installed security system?
DIY systems ($200-$600) suit renters and homeowners comfortable with basic setup, with no long-term contract required. Professional installation ($99-$599 plus equipment) makes sense for larger or older homes needing hardwired reliability or a single point of contact for support.
How much should I budget for home security?
A basic setup with a video doorbell and door/window sensors on self-monitoring runs $150-$350 upfront. A standard setup with professional monitoring runs $400-$800 upfront plus $25-$45 a month. Build in tiers rather than buying full coverage all at once.
Sources
- Federal Bureau of Investigation – Crime Data Explorer
- Insurance Information Institute
- National Crime Prevention Council